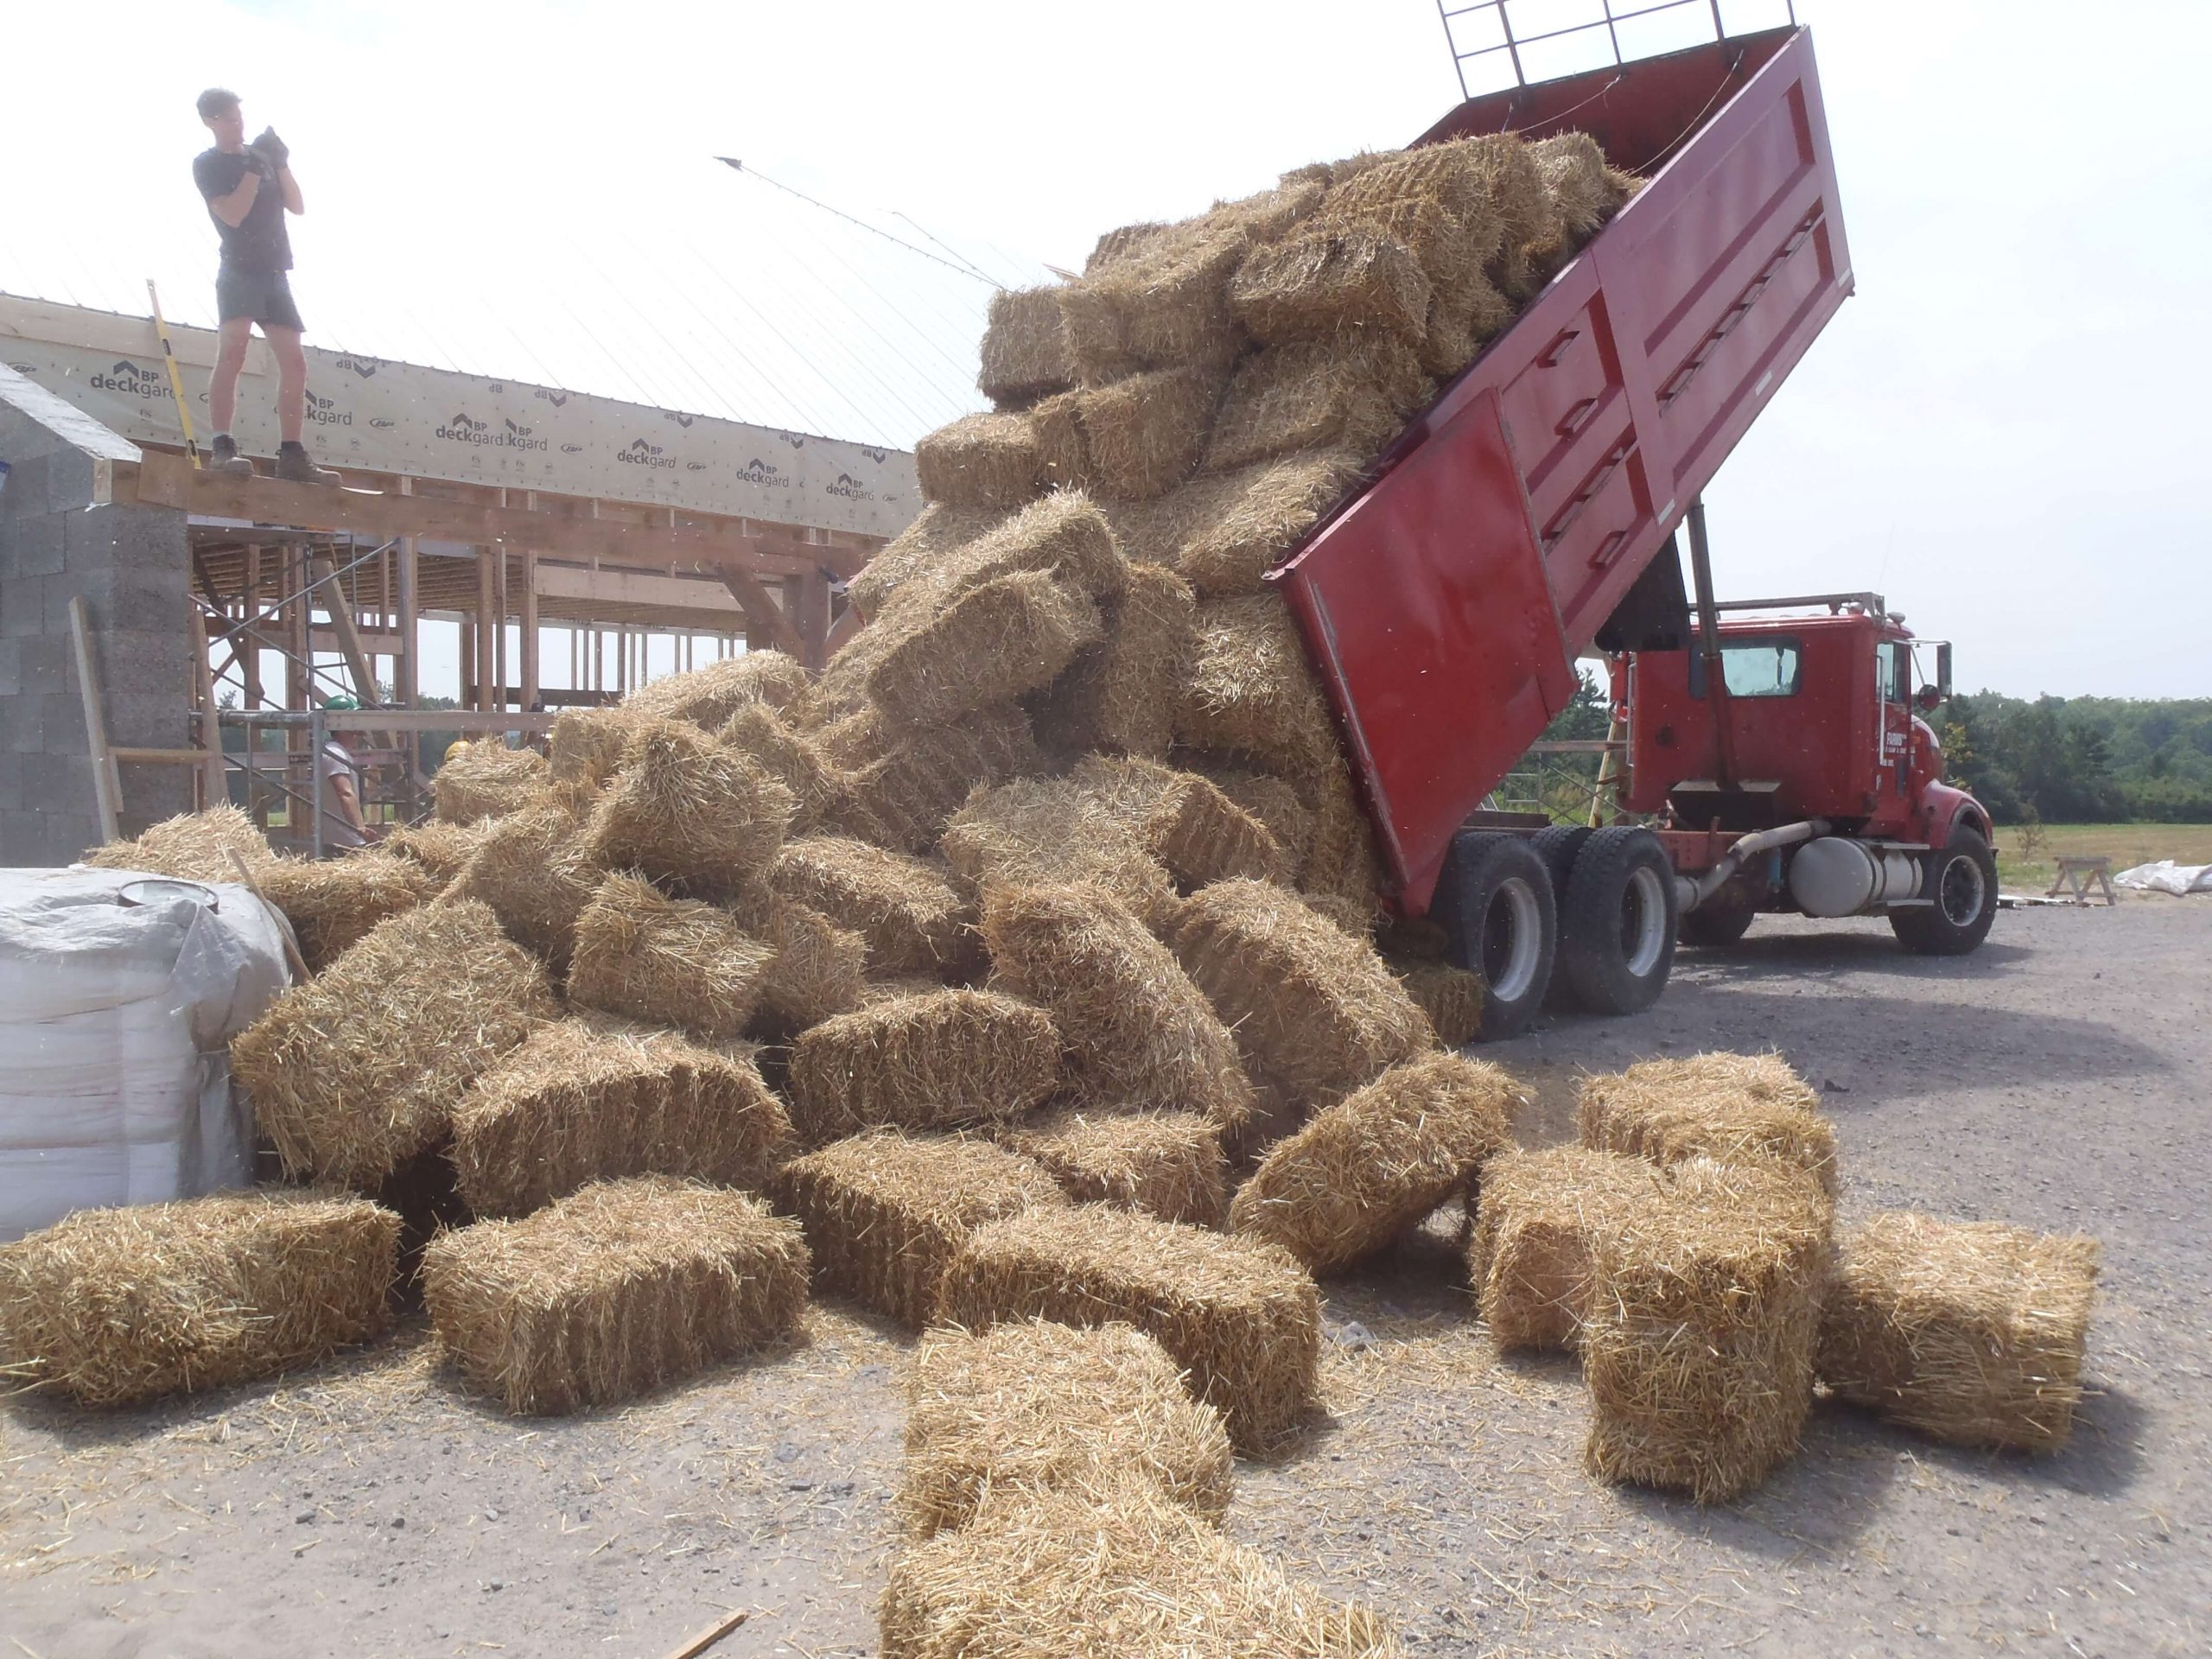
We do a lot of straw bale work at Endeavour, but it’s such a normal part of what we do that there haven’t been any posts that show us putting in bales for a long time!
Over the past few years, we’ve arrived at a framing system for our bale walls that is very similar to many other professional bale builders. It’s interesting how often a certain approach will become common practice for a number of builders, even without any communication.
This system uses a fairly conventional light wood framing approach, in which we create double stud frames that are 14 inches apart (the width of our bales, on-edge) with the 2×4 studs spaced one bale length apart (for the bales we get here, it’s usually around 28-30 inches on centre). This framing system forms bale “cavities” in which a bale fits snugly. Too tight a fit and the studs will bend from the pressure (especially on 10 foot high walls like here at Circle Organic farm), too loose and there will be a lot of stuffing to do. If the fit is just right, it’s quite easy to get the bales in place, and the gap between the studs is filled with the “puffy” end of the bales. We stuff some extra straw into this space if there’s room, to ensure that there are no spaces without good insulation.
Built this way, we don’t ever have to notch a bale to fit around the framing, and the majority of the stud cavities take a whole bale. For shorter cavities, all the bales for that cavity are made to the same length which simplifies the cutting and retying process. If the math was done right during the planning process, the final bale at the top of each cavity should fit a full bale, tightly.
This system minimizes the amount of bale modification, and relies on very straightforward framing principles. This makes it easy for conventional builders or those with framing experience to frame up a bale wall with ease. Window and door openings are built with the same kind of jack studs and headers as conventional. The top of the wall is a typical doubled 2×4 top plate, so no large diameter beams or complex carpentry is required. The small gap between the top plates is easy to stuff with straw or other insulation.
The exposed sides of each wooden stud are covered with straw that is held in place by zig-zagging bale twine from the end of one bale to the end of the next bale. In this way, the wood is covered prior to plastering without having to rely on housewrap or tar paper.
This framing system uses a similar amount of wood as a conventional single 2×6 stud wall. While we are using double walls, the studs are spaced at least twice the distance apart. It’s a lot of building for a reasonable amount of framing lumber.
Flashings and plaster preparation are handled in a similar way to all other bale installations.
This system has worked well for us over a number of installations, and though we rarely do anything in a standardized way, this framing system is definitely becoming our standard approach.
Stay tuned to find out about the homemade hydraulic lime plaster used on this project!…


