Timber framing is an important building system for any sustainable builders’ palette of options, and we always try to include a timber framing element in our projects so our students can gain some exposure and experience in this time-honoured way of building.
Our current project features five “bents” or timber frame sections. Four of them hold up the roof over the curved ends of the building, allowing the roof to be straight, square and simple while the walls follow a rounded path. One bent holds up an entry roof section.
The timber frame section from the building plans was reviewed by both our structural engineer (Tim Krahn of Building Alternatives) and our timber framing instructor (Mark Davidson of Whippletree Timber Framing). From Tim’s recommendations on timber sizing and Mark’s expertise at layout and joinery, the initial design was turned into working drawings for the frame.
From Mark’s layout sketches, we went to work on measuring, marking and cutting the joinery on the actual timbers. Mark showed the class the basics of square rule timber framing, introducing us to principles and techniques of using a framing square to achieve the layout.
Each bent consists of three posts supporting two beam sections (joined with a scarf cut) with four knee braces to provide shear support, and we made four identical bents for each corner of the building. Unlike classic timber frame structures, this frame does not support the roof for the whole building but shares the duties with the straight sections of structural wall.
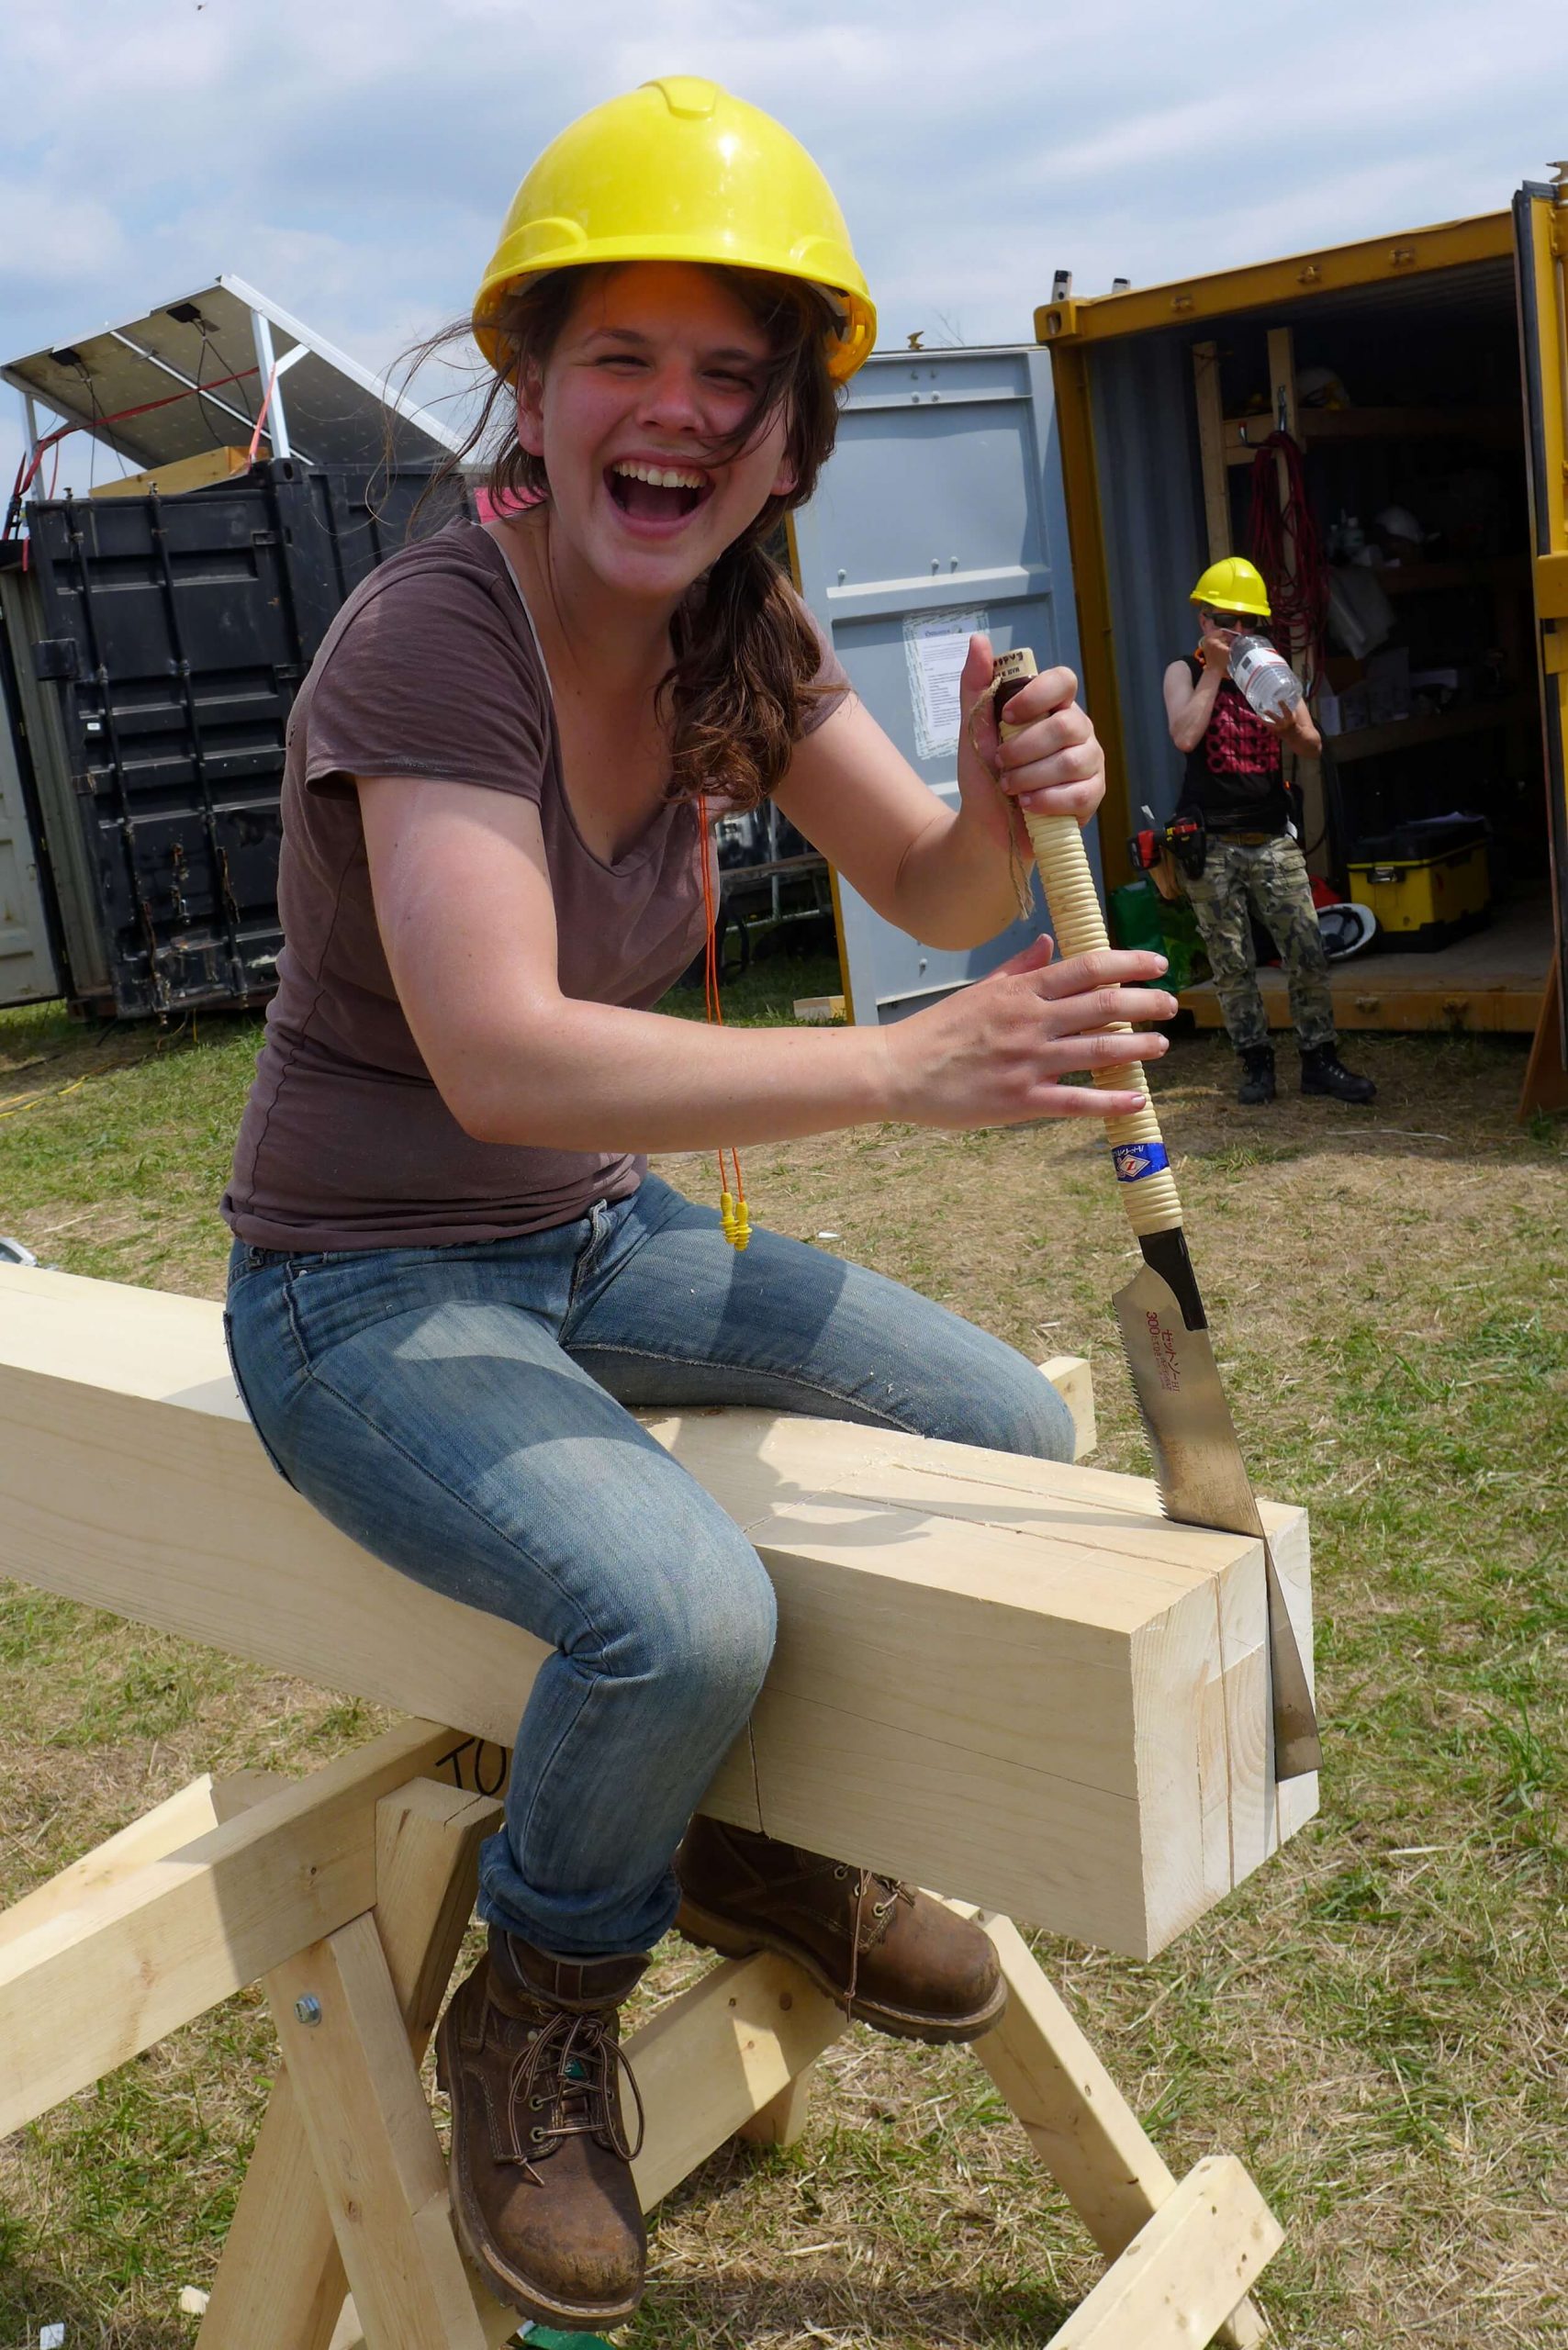
After completing the marking, the joinery was cut using a combination of classic hand tools (saws and chisels) and power tools (circular saw, mortise cutter and drill). In general, the power tools made the big rough cuts and hand tools were used to clean up and refine the cuts to ensure tight, smooth joints. We then drilled the holes into the mortises for the pegs that will hold all the joints on the finished bents.
As the joints in each bent were completed, we arranged sawhorses so that the entire section could be test fit in a horizontal position. Some of the joints needed to be cleaned up a bit in order to assemble the bents, but once the test fit was successful the pieces were numbered and the frames disassembled until the foundation is ready to receive them.


