Questions concerning the durability of clay plaster – especially as an exterior plaster, and even more especially in cold and wet northern climates – get raised any time we suggest using clay plaster to a client. We recently had the experience of returning to the first building we clay plastered, back in 1994. What we saw and learned greatly increases our confidence in the use of clay plasters!
What do we mean by “durable?”
When we talk about durability, what do we really mean? Let’s say we’re comparing two kinds of exterior siding: clay plaster and vinyl siding. Intuitively, we’d probably say that the vinyl siding is more durable. But scratch the surface a bit… no material is indestructible, so what we really mean is “how long before it needs fixing or replacing.” Vinyl siding can last quite a long time before it wears out or breaks. But it does wear out and break, and when it does what can be done? Typically, nothing. It gets removed, taken to landfill, and replaced with new material.
The clay plaster may be more susceptible to wear (especially if it’s placed too close to the ground, as we’ll soon see!). But when it is damaged, it can be easily repaired at almost no cost and made as good as new, with no landfilling and no need for replacement.
Using Clay Properly
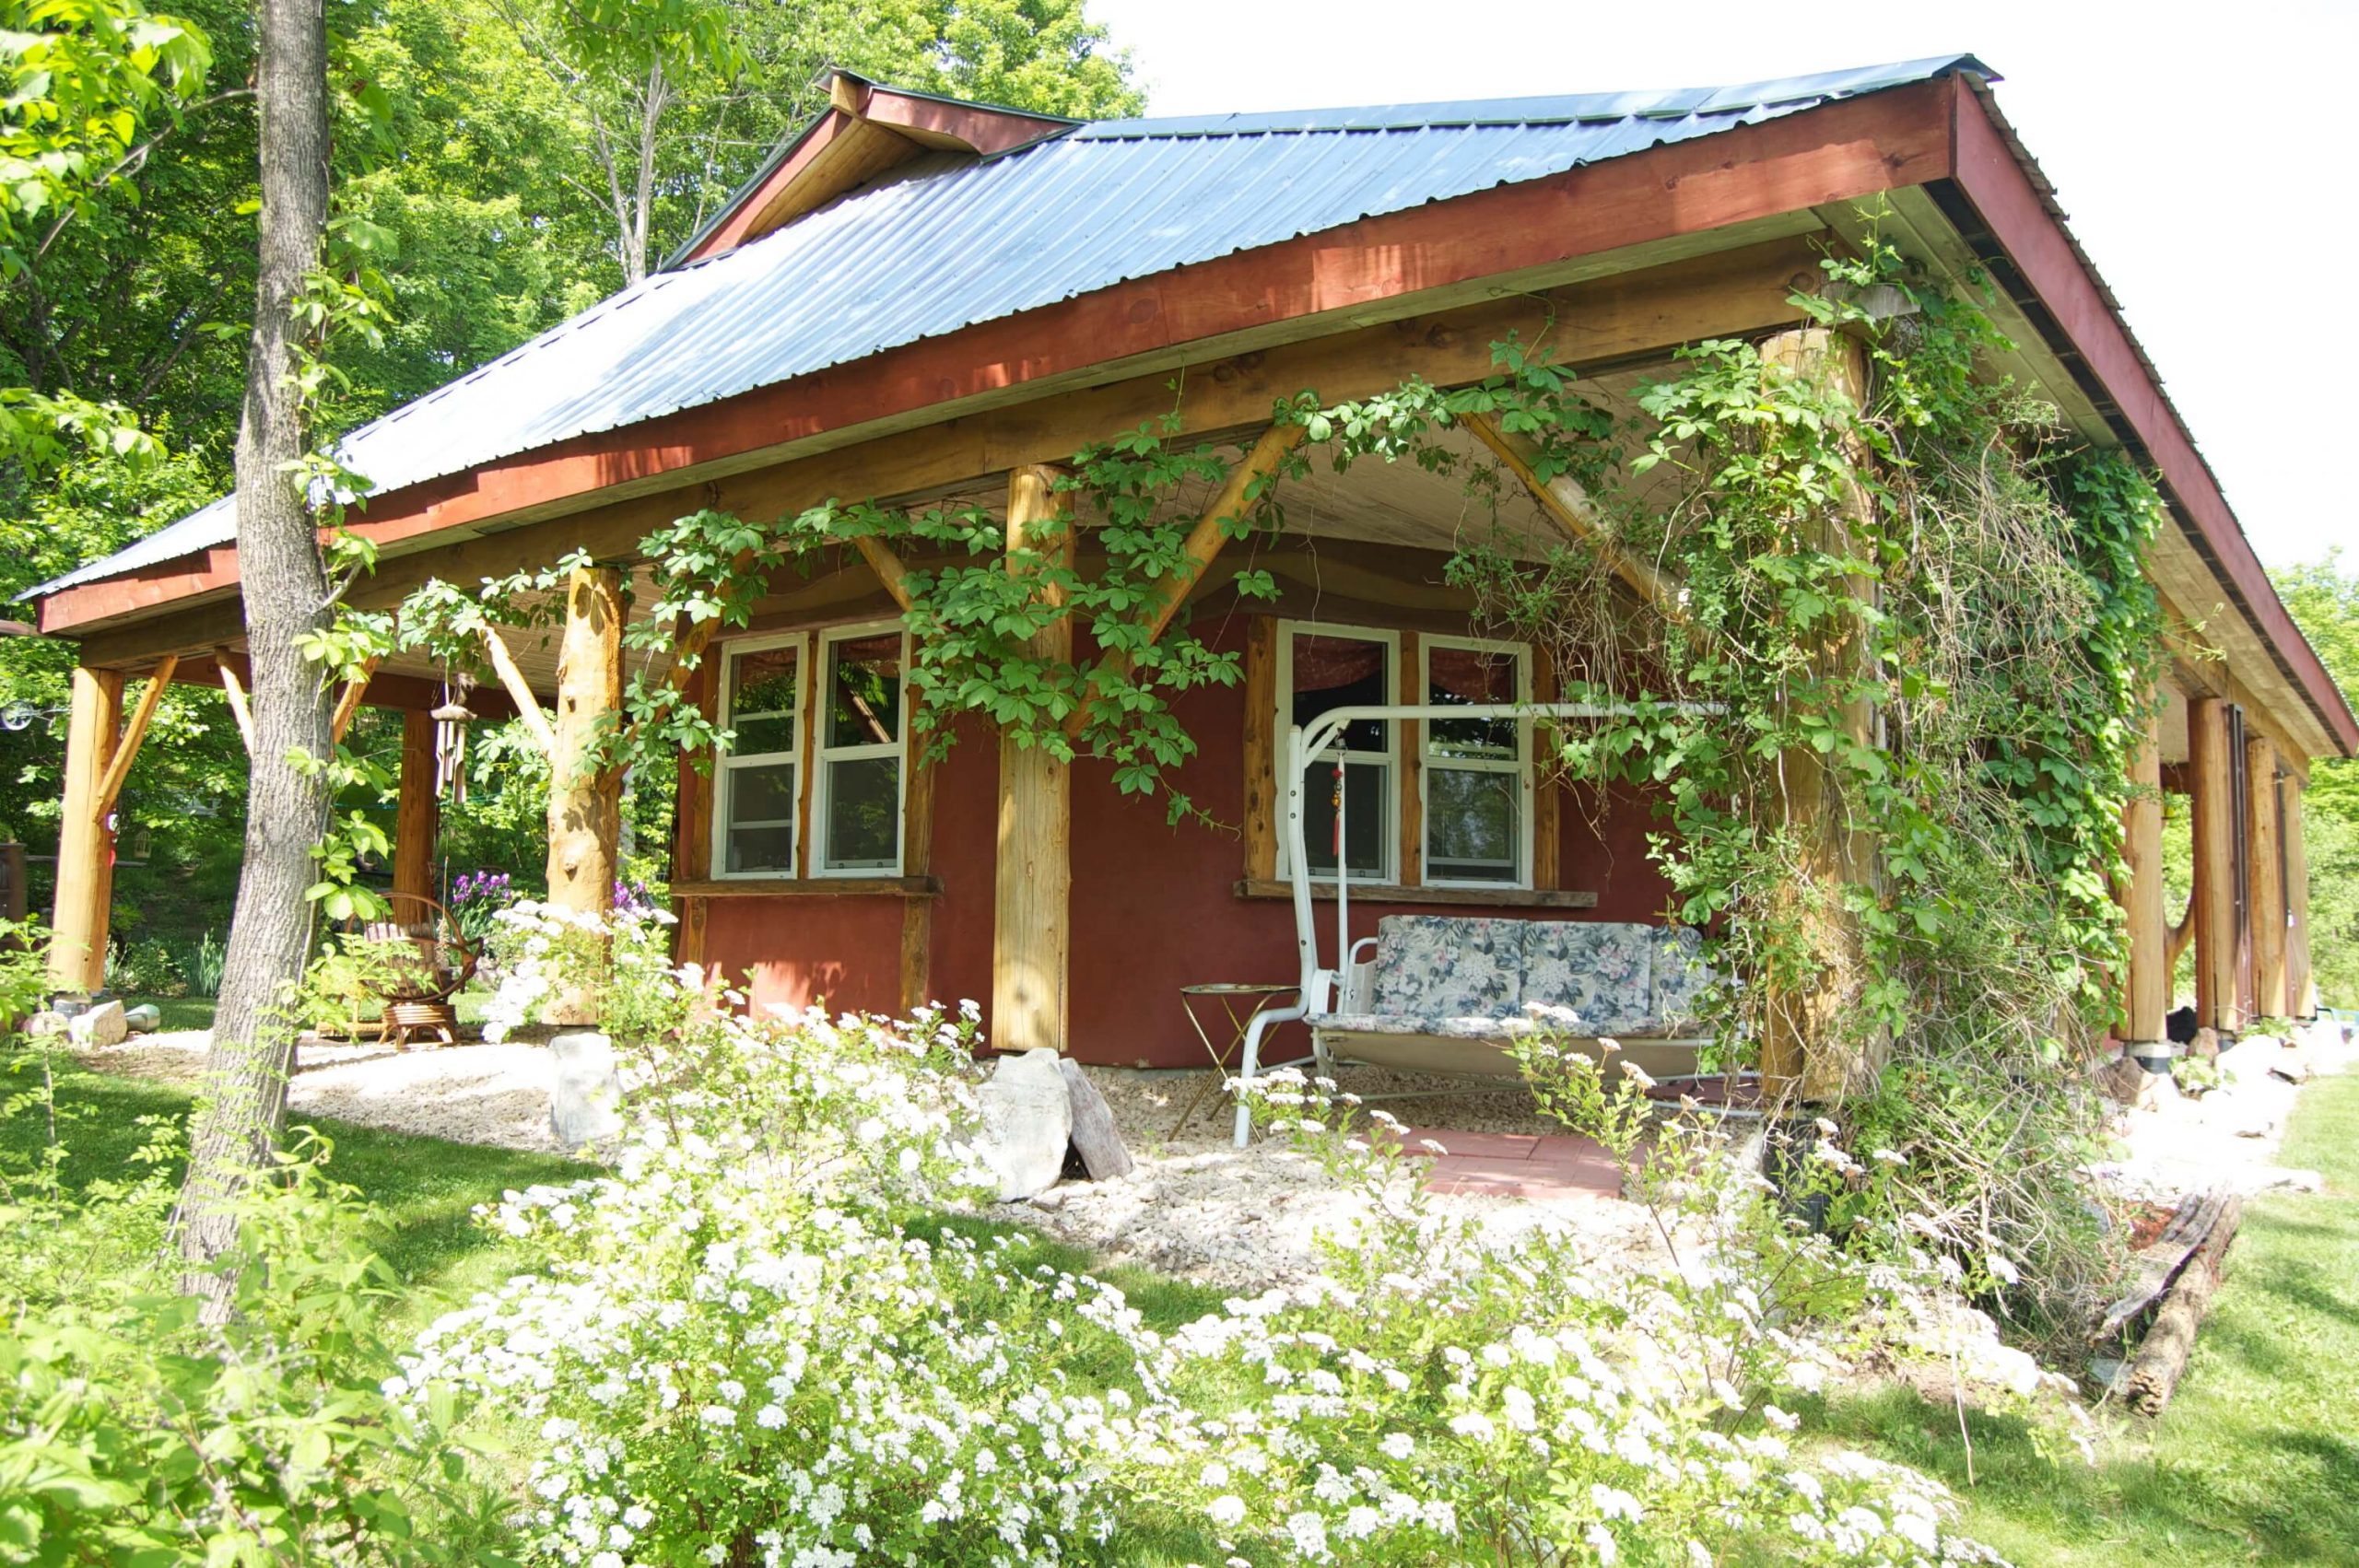
The first step in making clay plaster durable is to plan properly. The worst section of damage on this 12 year old home was next to the utility door on the north side. The building is way too close to grade… we recommend 8-12 inches minimum, but didn’t do that here. It was also unprotected by a roof overhang… despite the whole building have wide overhangs, this northern corner protrudes out to be almost in-line with the roof. Two strikes! And yet, here in the worst possible scenario – with rain hitting it, snow piling against it and no sun striking it to help dry it out – the plaster was still intact and still protecting the bales, it just didn’t look pretty anymore. Other places on this building saw some cracking, a result of not using enough fiber in the mix. Our clay plasters have for years now featured high quantities of fiber and we’ve avoided these kinds of cracks.


Getting the repairs going
We addressed the two areas that had seen a fair bit of erosion with new clay plaster. But clay plaster mix is terrible for filling cracks… the large aggregate and high fiber content that make for great plaster also makes for a mix that does not want to be pushed into long, narrow cracks.
Even though we opened up all the cracks with a pallet knife, the openings were nowhere near the size needed to push in an actual plaster mix. In fact, a mix with almost any aggregate (sand) in it does a lousy job. Even if it fills the crack adequately, there is always sandy mix left on the surface of the plaster calling attention to the repair forever after. And if we used straight clay, the shrinkage would be extreme and there would be micro-cracking along the crack.
Toilet paper to the rescue!
As we contemplated how to make a mix that would adhere to the existing clay, but would have such a fine aggregate that it could be wiped off the surface, we started to think about cellulose… little paper fibers that would be very fine but still add a lot of strength to the repair mix.
We came up with a highly scientific formula: 6 arm-spans of toilet paper (two-ply) to 2 cups of clay, with a bit of talc powder and water to the desired consistency. What we got was a sticky mix that was easy to work into cracks, that bonded well with the existing clay, didn’t shrink at all and was very easy to work with!
We were able to fill all the cracks to their full depth using a putty knife and pulling back and forth across the crack until it wouldn’t accept any more material. Then one pass with the putty knife left the surface scraped back cleanly to the original plaster.
Low impact repairs… like, really low impact!
The materials we needed to do all the repair work were right on site. The clay that had been leftover from the initial plastering in 2004 was left in a small mound near the house. Slowly, that mound became a “garden” of sorts. We were able to shovel clay from the back side of the pile and leave the garden undisturbed. Some natural pigment, some sand (and some TP in the cracks)… that’s all that was required. I don’t think we could even calculate a carbon footprint or embodied energy for these repairs!
Mixing and applying a new clay paint
The largest area of the house had a red clay paint applied 12 years ago. There were enough cracks and repairs on this section that we decided to re-coat it with a coarse clay paint. We mixed 20 parts of the site clay with 10 parts of fine sand and 3 parts of pigment, and applied this runny mix using a sponge float.
A wetter mix with only 3 parts of fine sand was brushed onto the narrower bands of colour at the top of the wall. It was easy to cut a smooth line with this paint, making for crisp lines between the colour bands.
Fast work, faster next time
There were enough areas that needed attention on this house that we decided to completely re-paint the whole building. From first arrival at the site to colour matching the mixes to application and final clean-up, we spent a total of 3 days for 2 people (about 42 hours) on these repairs.
When this plaster needs work again in the future, there will be a paint mix in all three colours ready to be re-hydrated and applied. And since the colours match, spot repairs can be done instead of a whole new coat. If we’d been smart enough to do this the first time around, we could have cut the time for the job in half! We don’t expect cracks to re-open again, as no new cracks opened up on the building after the first couple of years.
A final layer of protection
One of the reasons we feel this clay plaster held up so well – despite being a less than ideal mix placed too close to the ground – was the inclusion of a top-coat of Primasil, a silicate paint primer from PermaTint.
Though it isn’t intended to be used as a “clear coat” finish, we have applied it this way on several buildings and it has done a great job of protecting the plaster from water damage while remaining highly permeable. In the future we will experiment with adding PrimaSil to our finish plasters and clay paints instead of water and see if building the silicate right into the material has a positive effect.
An endlessly repairable finish
The beauty of clay plaster is its ability to be maintained and repaired indefinitely. We had no waste from these repairs other than some sand and clay on the ground, and we had no expense other than a bit of pigment and a roll of toilet paper. And the pigment will be suitable for about a century’s worth of repairs of this extent! Now the plaster is once again gorgeous to look at and ready to handle another decade or two of keeping out the elements… Try doing that with vinyl (or anything else!).